All students have been smiling this month, it's amazing how the project has come together and the students have all worked really hard to get it finished before the end of the course. This month we have managed to complete the wiring, even the Audio amplifier went in well and emits a reasonable amount of decibels for the students to cruise up and down the college atrium's without disturbing others too much. The wiring has been run through PVC insulated tube where possible and beneath square trunking under the body to protect the main power cables and the speaker wires.
We finally managed to power up the Toylander on Tuesday 18th June and as you can see from the faces of students AND staff there was a lot of smiling faces. Several members of staff have since approached me to say what a fantastic job the students have made with the project and how much it looks like the real thing. Today (21/06/13) I showed the vehicle to a member of Joinery staff who has owned a series 2 LandRover and he cannot believe how detailed it is, comments of the curves, the bonnet, even the power out on the rear panel looks realistic, it's fantastic.
Well done to all the students involved, you should be very very proud of what you have achieved, make a note of the Blog address
http://bradfordcollegebtectoylander2012.blogspot.co.uk/ and use it in your search for employment or progress in education. Have a great summer, stay safe and don't forget your time at Bradford College and working with the Toylander from Real Life Toys
http://www.reallifetoys.co.uk/.
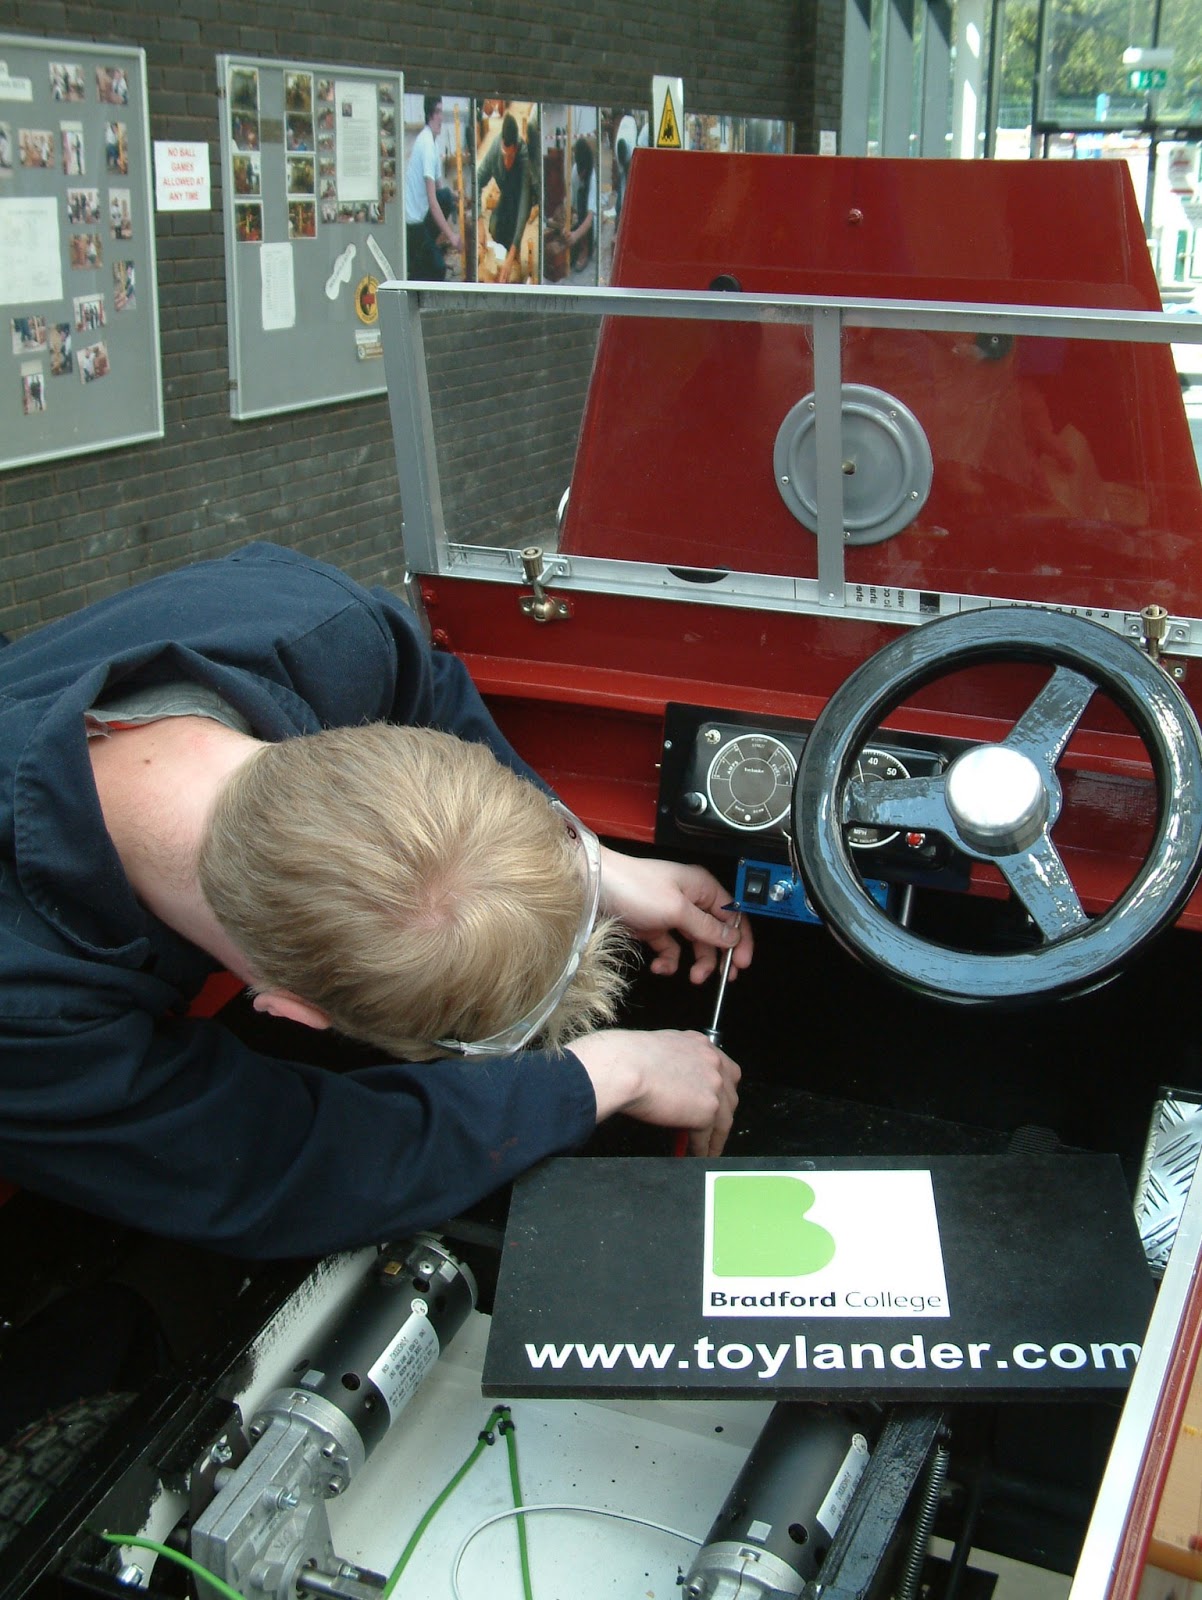
A.I Fitting Accelerator Pedal. Note the Audio Amp (Blue0 above left arm.
N.McN fitting the Controller.
C.D fitting the Audio Amp.
M.K checking wiring of rear lights
N.McN & M.K fitting final Decals
Fitting front Lights.
Tony vacuuming front of sawdust and wiring insulation, cheers Tony.
Nice Decals
Erm how do all these wire fit together then ?????.
Yellow - Indicators, 1 for left, 1 for right. All black wires are 12vdc Negative, Red wires are 12vdc Positive. what about the white and blue wires.
Securing the controller.
Almost have take off, T.A fitting the Horn, A.I wiring Accelerator with help from C.D.


No comments:
Post a Comment
Members, Please feel free to comment on your progress so far.
Thanks - Steve